WordPress headless migration opens the door to faster, more scalable, and flexible website architectures. In a typical migration, you decouple WordPress’s backend from the frontend, using frameworks like Next.js or Astro to deliver content via APIs. But this journey requires meticulous planning – everything from content modeling and API configuration to SEO and performance must be addressed carefully.
In this post, we’ll walk through the essential steps for a successful WordPress headless migration. Whether you’re launching a new project or converting an existing site, these best practices will help you avoid pitfalls and maintain site integrity.
What Is WordPress Headless Migration?
A WordPress headless migration separates the WordPress admin (backend) from the user-facing frontend. Rather than rendering HTML in PHP, content is served via APIs like REST or GraphQL and rendered by modern JavaScript frameworks or static site generators.
Why Choose WordPress Headless Migration?
- Performance Boost: Deploy static or server-side rendered pages for lightning-fast load times.
- Frontend Flexibility: Build with React, Vue, or Svelte—not constrained by PHP themes.
- Omnichannel Delivery: Serve content via web, mobile apps, IoT devices—all from a unified backend.
- Modern Workflow: Use Git, CI/CD, and infrastructure-as-code for robust development pipelines.
Step-by-Step Headless Migration Process
1. Audit Your Existing WordPress Site
Before starting your WordPress headless migration, catalog all content elements:
- Custom post types, taxonomies, metadata
- Shortcodes and embed logic
- Plugins that render output (like forms or sliders)
- Media assets and URL structures
- This audit informs your API strategy and helps ensure feature parity.
2. Choose the Right API: REST vs GraphQL
WordPress supports:
- REST API via
/wp-json/wp/v2/..., optimal for simple data needs - WPGraphQL plugin, ideal for complex data requests (nested queries, filters)
For rich data structures or frontend UIs, prefer GraphQL; REST may suffice for blogs or basic sites.
3. Preserve SEO and URLs
SEO matters during WordPress headless migration:
- Generate pages using Static Site Generation (SSG) or Server-Side Rendering (SSR).
- Manually inject page titles, meta tags, and schema using frameworks like
next/head. - Maintain URL paths and permalinks to avoid traffic drops.
- Use plugins like
next-sitemaporgatsby-plugin-sitemapto generate sitemaps.
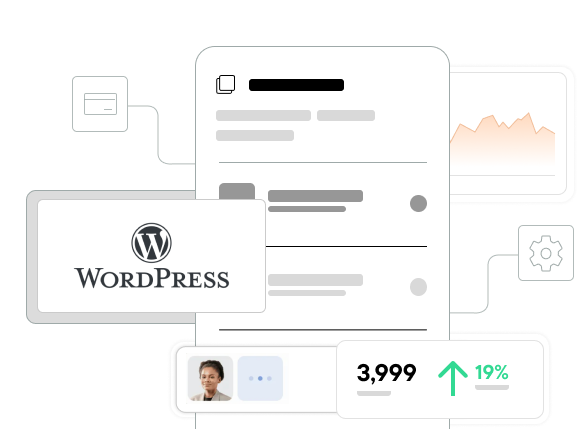
4. Handle Media Effectively
WordPress media stays in /wp-content/uploads. During migration:
- Use a CDN for faster delivery
- Proxy media URLs (e.g.,
/media/...) from your frontend - Optimize images with services like Cloudinary or imgix
5. Keep wp-admin for Editors
Even after WordPress headless migration, wp-admin remains essential for content editing. Don’t disable or hide it—your clients and editors still need it for publishing.
6. Implement Staging Environments
Before going live, test everything:
- Create staging for both backend and frontend
- Validate API responses, page rendering, redirects, SEO metadata, pagination
- Simulate production performance to avoid surprises after launch
Example: Fetching Posts with REST and GraphQL
REST (Next.js)
// pages/index.js
export async function getStaticProps() {
  const res = await fetch('https://example.com/wp-json/wp/v2/posts');
  const posts = await res.json();
  return { props: { posts } };
}
GraphQL (Apollo + Next.js)
import { gql } from '@apollo/client';
const QUERY = gql`
  query GetPosts {
    posts {
      nodes { title, uri, excerpt }
    }
  }
`;
Use WPGraphQL on your WordPress backend and Apollo or URQL in your frontend to power GraphQL queries.
Top Best Practices for Headless Migration
| Practice | Description |
|---|---|
| Audit plugins/themes | Identify features needing API compatibility |
| Use GraphQL for complex data | Opt for WPGraphQL for nested or filtered data |
| Manage media correctly | Use CDN, proxy media, optimize assets |
| Preserve URLs & SEO | Use SSG/SSR, manual meta tags, maintain permalinks |
| Test in staging | Validate API, pages, and performance thoroughly |
| CI/CD deployments | Automate build/deploy via tools like GitHub Actions |
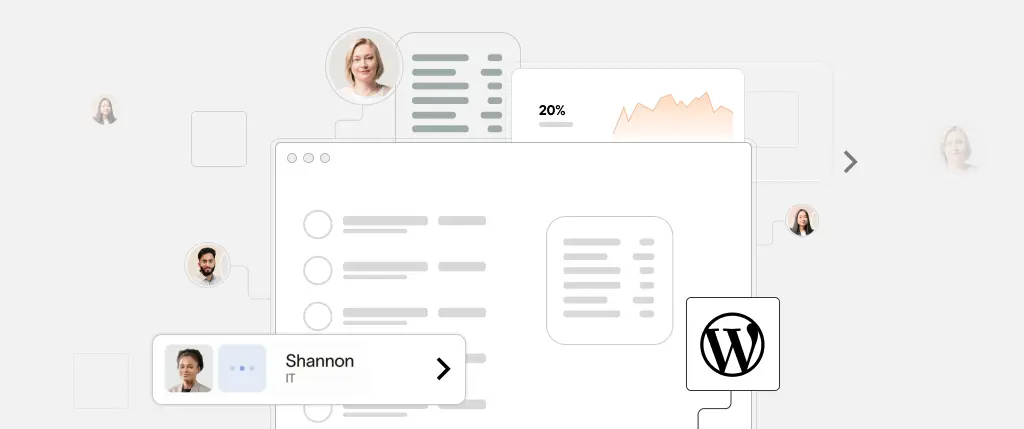
How SiteBox Simplifies WordPress Headless Migration
Want to skip setup headaches? SiteBox has you covered:
- 🧱 Pre-configured headless stacks with WPGraphQL
- ⚙️ One-click deploy: backend + frontend (Next.js, Astro, Gatsby)
- 🚀 Built-in staging environments for seamless testing
- 🧩 Out-of-the-box connectors for popular headless frameworks
- 🔐 Automatic HTTPS, caching, CI/CD ready for both layers
With SiteBox, your WordPress headless migration becomes smooth, scalable, and secure—so you can focus on building great frontends.
Conclusion
A WordPress headless migration offers performance, flexibility, and modern development workflows. The transition isn’t trivial: it requires planning around SEO, media, URL structure, and staging environments.
By following these best practices and leveraging tools like WPGraphQL, Next.js, and SiteBox, you can successfully migrate without breaking your site—or losing your audience.
👉 Ready to take your WordPress headless migration to the next level? Try SiteBox today!